Pine Needles at Gardner Village
1100 W 7800 S #3
West Jordan UT 84088
801-233-0551

contactus@pineneedlesonline.com

Showing posts with label FREE patterns. Show all posts

Wednesday, January 16, 2013

It's Time for a Tutorial!

I am so ready for some sunshine, how about you?  I love this time of year when we are deep into winter and I get to bring a little sunshine in my house with my Valentine decorations.  I have wanted to make a headband using our fun metal blanks and thought this was the perfect time for it.  Wouldn't your little cutie-pie look adorable wearing this!

Sweet Valentine Headband


 So let's get started....... gather your supplies. You will need
  •  one headband blank (available at the store)
  •  1 or two scraps of green wool and/or wool felt
  • 3 buttons
  • 3 scraps of fabric for the flowers (approximately 4" each)
  • 1 - 2-1/2" x 13" fabric to cover headband
  • glue gun
  • basic sewing supplies
  • 1/2 yard ribbon
Now let's put it together. (I hope you don't mind, but I like pictures and so this tutorial is full of them, bear with me)


  • From two of your flower fabrics cut a 2-1/2" circle, from the remaining fabric cut one 3-1/2" circle.
  • Mark the center of each circle with a pencil. 
  • To create flowers fold one edge of circle up to meet your marked center.

  • Rotate and fold up the edge of the circle so that point A (see illustration) meets up with marked center. Continue rotating and folding, each time having the outer right fold point meet up with the center mark. 
  • Tack at center point to keep folds from opening up.
  • Sew a button in the center. Note: The folds are the "right" side of the flower.  Repeat for all circles.
  • Cut out two leaves from wool or wool/felt approximately 2" long and 1-1/4" at the widest part.
  • Tie a double bow with ribbon. 


  • Fold headband cover fabric lengthwise right sides together. Sew a scant 1/4" seam along the long edge. 
  • Sew a 1/4" seam along one end, with the seam down the center. Turn right side out.
  • Slip over the metal headband with the seam on the inside.
  • tuck raw edge in at the end. Hand stitch or hot glue -opening closed.


  • Glue leaves in place beginning approximately 3-1/2" from end. 
  • Glue largest flower in place.
  • Glue two additional smaller flowers next overlapping.
  • Finish by gluing double bow under the edge of the small flowers.
I hope you enjoy!

SANDY


Sunday, August 5, 2012

MAKE IT MONDAY - Yo Yo Bracelet tutorial

I am excited to be back with you for Make It Monday!  It's been a while since I have shared a tutorial with you, but this one is a goodie!  My sister Sherie made the most fabulous bracelets for all of us last Christmas and I am excited to share how she did it with you!  

Here is a quick video of the finished product.


Supply List:
  • 1 metal cuff
  • Fabric scraps
  • 20mm Clover yo yo maker
  • 30mm Clover yo yo maker
  • Needle & thread
  • Fabric Tack glue or hot glue gun
  • decorate buttons and/or beads


  1. Measure width of metal cuff and add 1/2" (image 1)
  2. Measure length of metal cuff and add 1/2" (image 2)
  3. Cut fabric for covering metal cuff to equal this measurement. (image 3)
  4. Fold in half, right sides together and sew along long edge using a scant 1/4" seam allowance. Open so that the seam is down the center and sew one end closed. (image 4).  
  5. Turn right side out and thread onto metal cuff (image 5)
  6. Fold open end of fabric in around metal cuff and hand stitch closed (image 6 & 7)
  7. Using your 20mm and 30mm Clover yo yo makers create an assortment of yo yo's.  I used (5) 30mm and (2) 20mm yo yo's. Glue along bracelet working from the center and out either side. 
  8. Embellish.  I added 2 buttons and then glued a pearl bead in the center of one of my yo yo's. 
Of course, the metal cuff that I used is available at Pine Needles as well as the Yo Yo makers.  If you haven't used these fabulous goodies you must give it a try - what a snap!

Here's a link to Pat Sloan's video on how to use them.

Monday, July 2, 2012

Make it Monday!!


Happy 4th of July!  Yes I know it's only the eve of the eve of the 4th of July, but today's Make It Monday is in celebration of Independence Day!  And it is quick and easy enough to finish before your festivities begin!

To begin, you will need to print  the pdf file that has your ALPHA-Star pattern.  The pattern linked here has the finished image as well as a mirror image for use when tracing your fusible we. 


Supplies:
1/4 yard Heat 'n Bond ULTRA
fat quarter of solid white fabric
fat eighth of a tiny blue print fabric
fat eighth of tiny red print fabric (or scraps of red fabric)

On the paper side of the Heat 'n Bond ULTRA, trace your letters (MAKE SURE THE LETTERS ARE BACKWARDS - SEE ABOVE).  Following the manufacturers' instructions, fuse the letters to the wrong side of the blue and the red print fabrics.  Cut out letters, if you use a sharp pair of small scissors the job is easier.  Take your cut out letters, pattern and your solid white fabric over to the ironing board.  Lay the solid white fabric on top of your pattern, and use it as a guide to lay your letters down.  Remove paper backing from your letters and fuse them to the white fabric.  

Now you can either frame this darling patriotic eye chart in a red 8" x 10" frame, or use your favorite Americana fabrics to turn it into a festive pillow!

I hope you enjoyed today's Make it Monday!


Monday, April 16, 2012

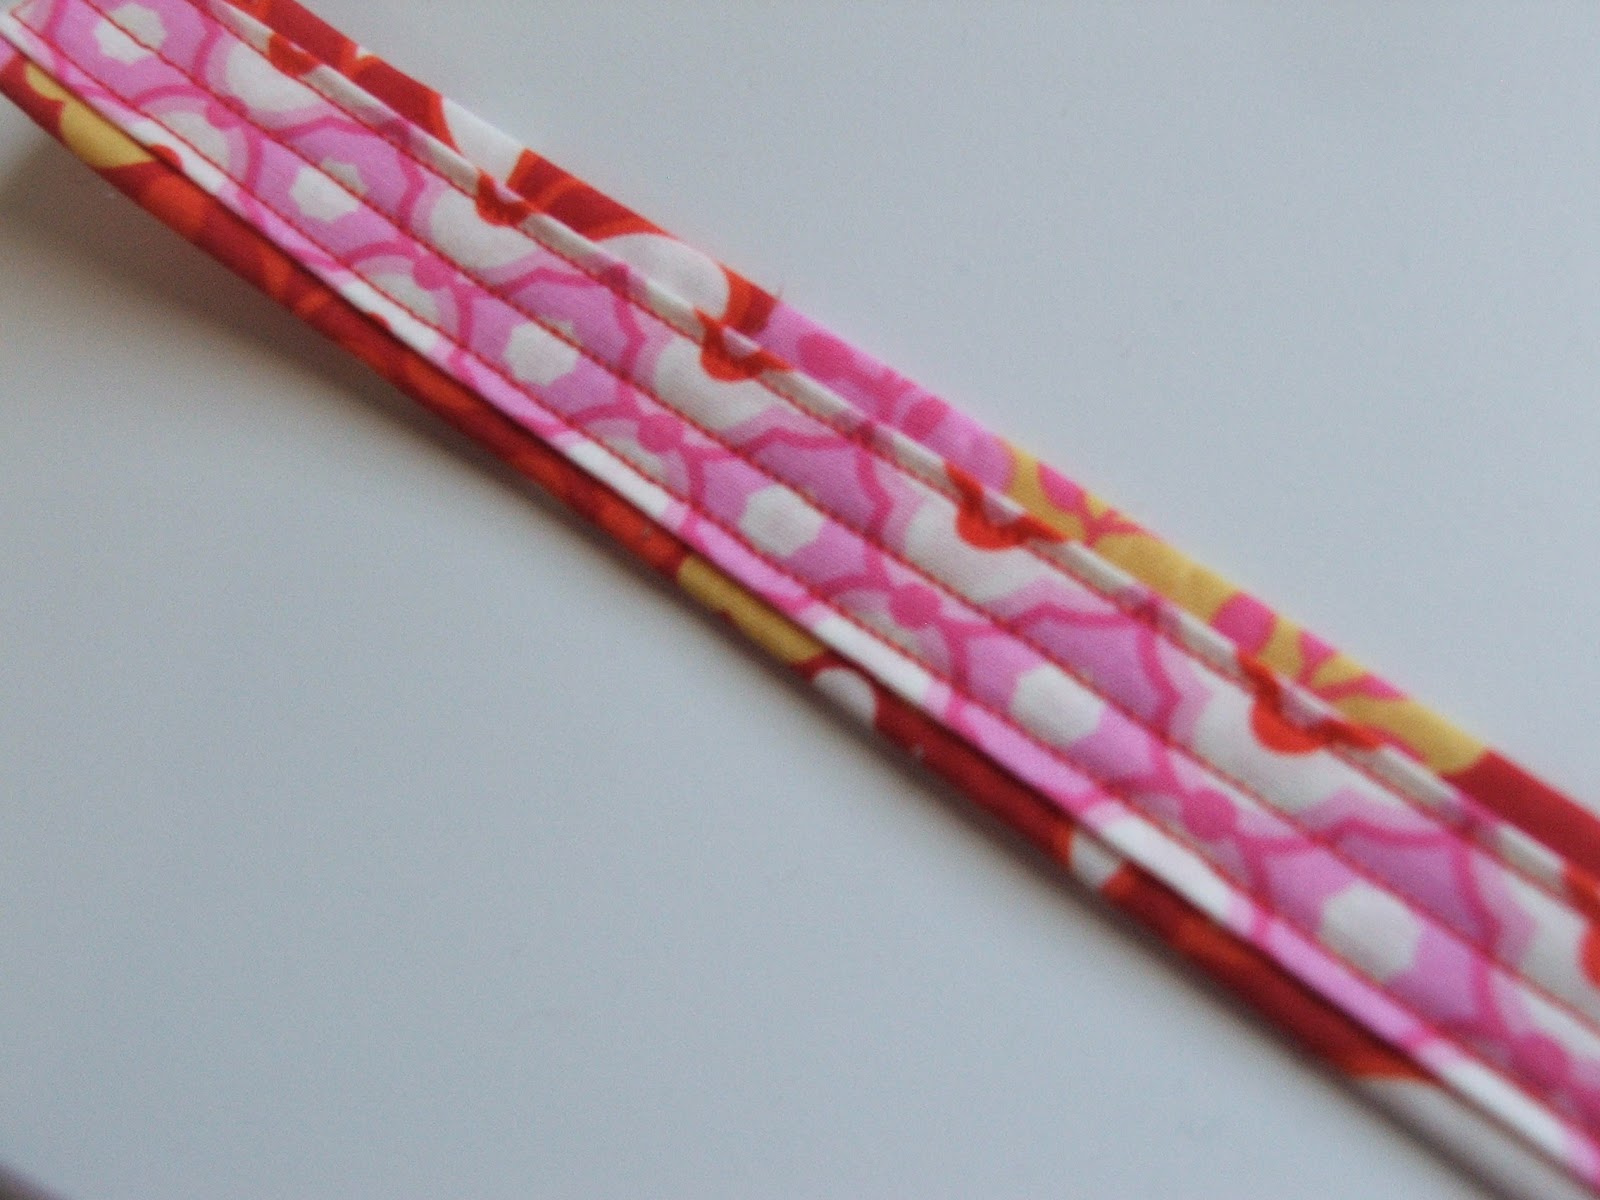
MAKE IT MONDAY - Fab Fob

Welcome back to MAKE IT MONDAY!

Today we are making something cute and quick.  I recently made them for my gal pals as a little gift at Girls Night Out.  So let's get started....

You will need

  • 1/3 yard 1" webbing
  • 3" x 12" main fabric
  • 1 1/2" x 12" contrast fabric
  • Key fob hardware


Construction:

  • At your ironing board lay your webbing down the center of the main print on the wrong side, fold fabric over webbing and press.


  • Repeat with other edge wrapping fabric around webbing.


  • Using contrasting fabric fold each edge of fabric to meet in the center and press. 


  • Pin in place.


  • Top stitch down both sides of contrasting fabric and down the center.


  • Fold fob wrong sides together. Use pliers to clamp fob hardware on the end.
Your are finished!


Monday, April 9, 2012

MAKE IT MONDAY - Candy Bar Checkerboard Quilt

Guess what, we have great news HOLLY is back in the store!!!  We are all SO excited to have her back!!! And guess what else? For Today's MAKE IT MONDAY Holly is treating us to another great Candy Bar quilt!  


Candy Bar Checkerboard
Finished size approx 33" x 35"
SUPPLY LIST:
1 candy bar (2 1/2" x 5" rectangles)
Solid black  1/3 yard
Stop border fabric  1/3 yard
Outer border fabric 1/2 yard

CUTTING:
Candy Bars
  1. Cut each candy bar into (2) 2.5" x 2.5" squares; for a total of 78 squares
Solid black
  1. Cut (5) 2.5" x WOF strips
  2. Cross-cut each strip into 2.5" x 2.5" squares; for a total of 78 squares
Stop border fabric
  1. Cut (4) 1.5" x WOF strips of fabric
Outer border fabric
  1. Cut (4) 4" x WOF strips of fabric
SEWING:  use 1/4" seam allowance for all sewing

  1. Sew twelve squares together, alternating between a candy bar square and a black square, to make one row. Press toward the solid black squares.
  2. Repeat for a total of 13 rows.  
  3. Sew rows together flipping strips so that you alternating beginning the row with a black and candy bar print. 
  4. Measure through the horizontal center of quilt and cut two strips of the stop border print to this measurement.  Sew to the top and bottom of quilt. 
  5. Measure through the vertical center of the quilt and cut two strips of the stop border print to this measurement. Sew to both sides of the quilt. 
  6. Measure through the horizontal center of the quilt and cut two outer border strips to this measurement. Sew to top and bottom of quilt.
  7. Measure through the vertical center of the quilt and cut two strips of the outer border print to this measurement. Sew to the sides of the quilt. 
  8. Quilt and bind as desired.

Tuesday, March 20, 2012

FREE Merry Day pattern!


Here's a little gift for you from me!  This little postcard cushion measures 10.5" x 13" and is created in a soft spring pallet and is full of charm. We have a limited number of kits available that include all the beautiful fabrics used, you add the ribbons and embroidery.


Stop in the store today and pick up your FREE pattern!

For out of town friends, email me at pinemtndsg@aol your name, state, and email address with POSTCARD in the subject line and I will email this to you.

Monday, March 12, 2012

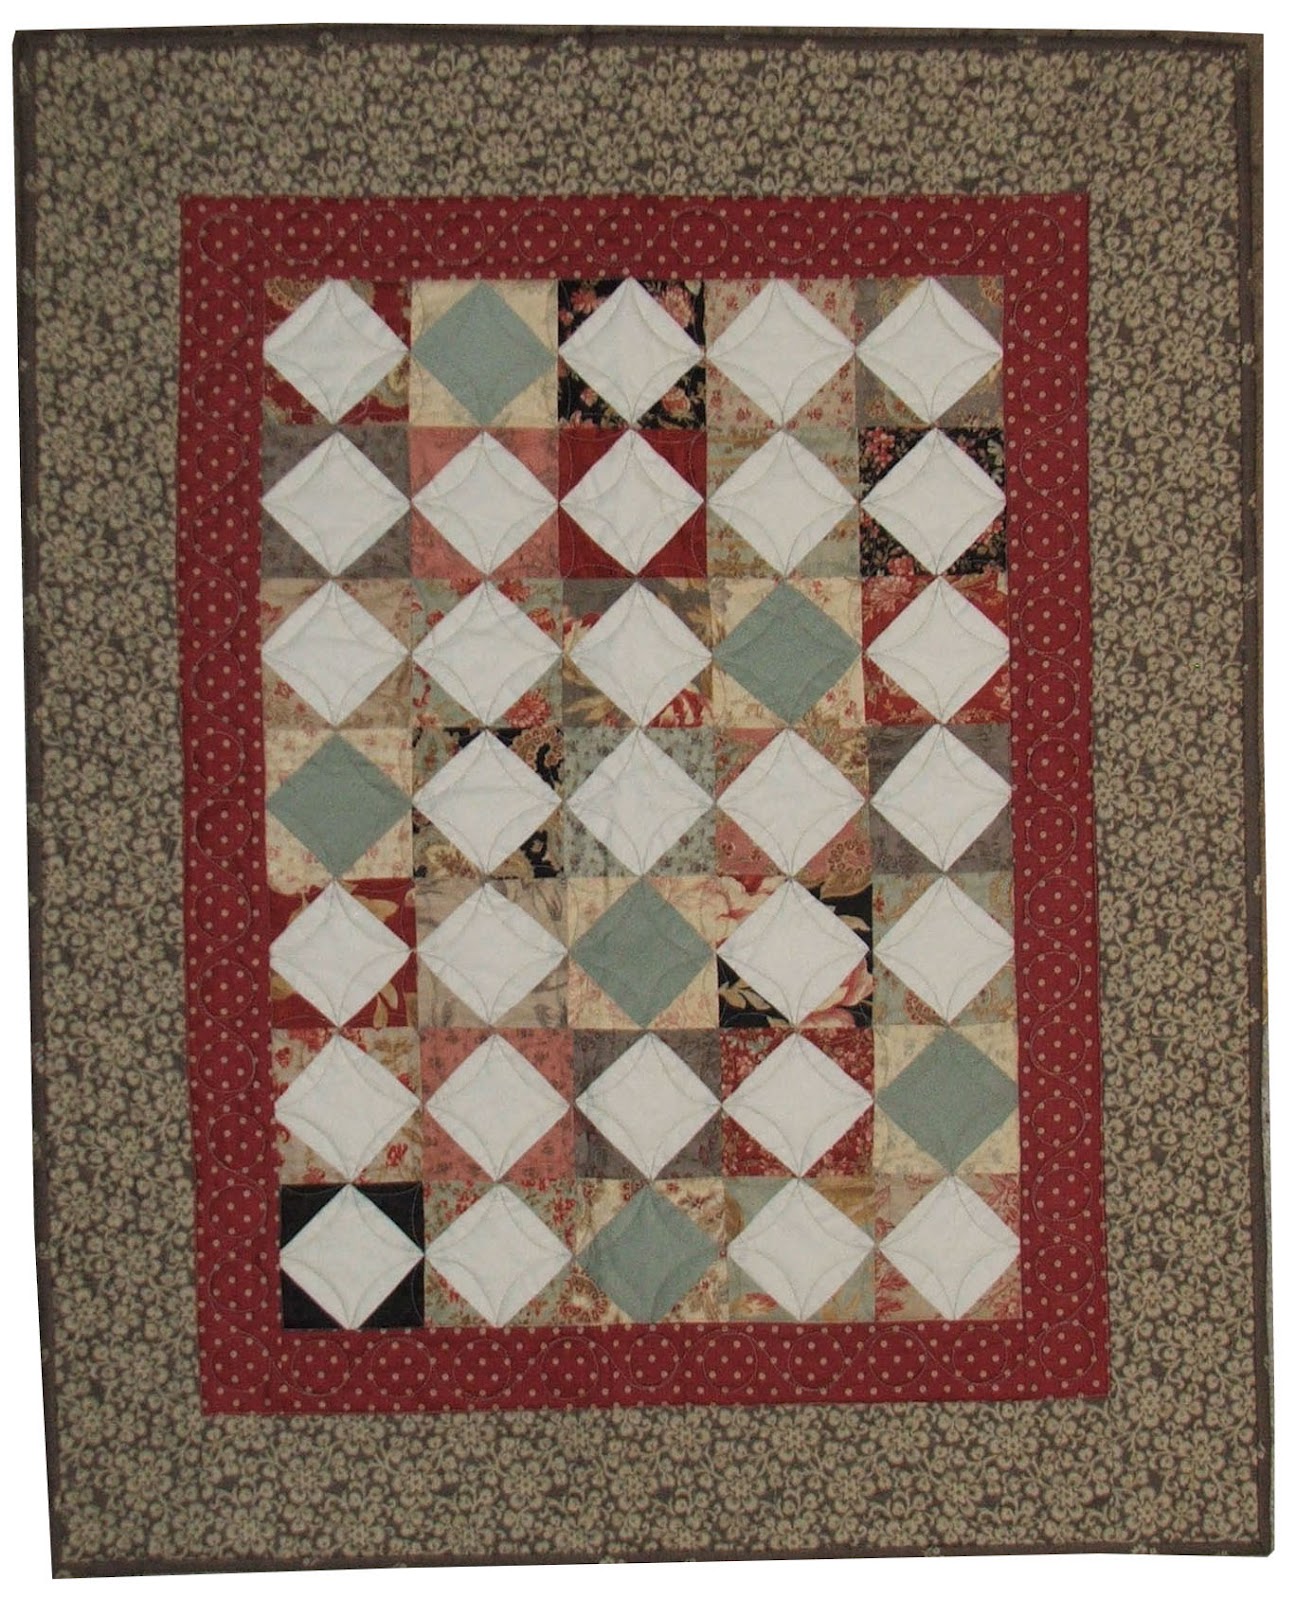
MAKE IT MONDAY - Point of Candy Bars

We're back again for Make it Monday and this week we bring you a Candy Bar quilt (finished size 28 1/2" x 36").  What's a candy bar you might ask?  It is a stack of 2 1/2" x 5" pieces from Moda.  So, without further adieu let's get going.....
SUPPLY LIST:

1 candy bar (35—2 1/2” x 5”rectangles)
1/8 yard slate blue
1/4 yard cream solid
1/3 yard red stop border
1/2 yard outer border

CUTTING:
Candy bars:
Cut each candy bar rectangle in half resulting in 35 pairs of 2 1/2” x 2 1/2” squares.


Cross-cut the squares on the diagonal into (2) triangles. Keep them paired up, as you will need four matching triangles per block

Cream fabric:
Cut three 3” x width of fabric strips.
Cross-cut the strips into 3” x 3” squares; for a total of 29 squares.
Contrasting fabric (slate blue):
Cut six 3” x 3” squares
Stop border (red):
Cut three 2.5” x width of fabric strips
Outer border:
Cut four 3.75” x width of fabric strips

SEWING: 1/4” seam allowance for all sewing. Press as you go.

Sew a triangle to opposite sides of cream square. Press.
 Sew the other two matching triangles to opposite sides and press (the cream square is now on point). Repeat with remaining 28 cream squares and 6 contrasting squares

Sew five squares together to make one row. Repeat for a total of 7 rows. Sew the rows together.

Measure through the vertical center of quilt and cut two strips of the stop border print to this measurement. Sew to sides of the quilt.

Measure through the horizontal center of quilt and cut two strips of the stop border print to this measurement. Sew to top and bottom of quilt.

Again, measure through the vertical center of the quilt and cut two outer border strips to this measurement. Sew to the sides of the quilt.

Measure through the horizontal center of the quilt and cut two outer border strips to this measurement. Sew to the top and bottom of the quilt. 

Quilt and bind as desired.


MENTION THIS TUTORIAL AND SAVE 25% OFF ANY CANDY BAR
offer expires 3/17/2012


Friday, January 13, 2012

I {HEART} U

Today I have a sweet treat for you, a FREE pattern for this adorable VALENTINE EYE CHART! Fusible fun, this is a quick project for you to kick off that season of LOVE.

Stop in Pine Needles today and pick up your FREE pattern!

Out of state customers, we don't want to leave you out. Just drop me an email listing your City and State and we'll send one right out to you!

Wednesday, November 16, 2011

The Tale of Three Trees Tutorial

I just posted the following tutorial on my Pine Mountain blog and wanted to be sure to share it with all my Pine Needles friends.   Read on and enjoy!

Once upon a mountain top, three little trees stood and dreamed of what they wanted to become when they grew up. The first little tree looked up at the stars and said......


That is the start of One of my favorite books for Christmas, or really it is such a beautiful folktale for for any time. If you have not read this book - please do, it will inspire and uplift you.

And today, in honor of one of my favorite books I hope you enjoy my gift to you, the paper piece pattern 'Three Trees"

I love the odd angles of the trees, and the folk art affect of the quilting.
  • Download and print pattern
  • Paper piece project using pattern provided, white background, and three different green fabrics. (See tutorial below if you are unfamiliar with paper piecing)

  • Sandwich paper pieced top, batting and background fabric.
  • Draw lines for tree trunks.

  • Chain stitch trunks using 2 ply brown floss.

  • Using 2 ply red floss quilt a running stitch through all layers along each seam as illustrated.

  • Frame, make an ornament, mug rug, or small pillow.


If you are not familiar with paper pieceing - here is a fabulous tutorial found on Youtube.


Post a comment and I will draw a random number to receive a free frame as shown in my model. Enjoy!

Thursday, October 13, 2011

FREE Peppermint Points pattern!

Make sure you stop in Pine Needles during the Wasatch Front FALL FRENZY, October 12th - 15th and pick up your FREE pattern for this festive table runner, Peppermint Points
Red & White zig zags, holly leaves and button berries, crips white background - perfect for your holiday table.

Tuesday, August 23, 2011

Beach Party Bag

What a fun time we had at the Midnight Madness Beach Party.  The bag pattern was a big hit and so I promised to post it on the blog. 

Made of fabulous vinyl coated fabric our bag is perfect for toting to the beach complete with a section at the bottom to store your towel.  

Here is the link for the pattern!  Hope you enjoy!

Sandy

Wednesday, February 2, 2011

Free Embroidery Patterns

 We are welcoming February with FREE embroidery patterns!
Click HERE for a FREE downloadable pattern of our Valentine Embroidery project
Then, come to the store and pick up your FREE Lucky In Love embroidery pattern now so you'll have it ready to welcome March!

(These cute frames are available for purchase while supplies last)

Happy Stitching!

Sandy