Pine Needles at Gardner Village
1100 W 7800 S #3
West Jordan UT 84088
801-233-0551

contactus@pineneedlesonline.com

Monday, April 30, 2012

Make It Monday, Sewing Machine Cover Tutorial


Hello Pine Needles followers! My name is Nancy and I'm excited to be guest blogging here today for Make It Monday. You can usually find me at my blog My Cotton Creations where I blog all about my sewing, quilting, crocheting, and family misadventures!

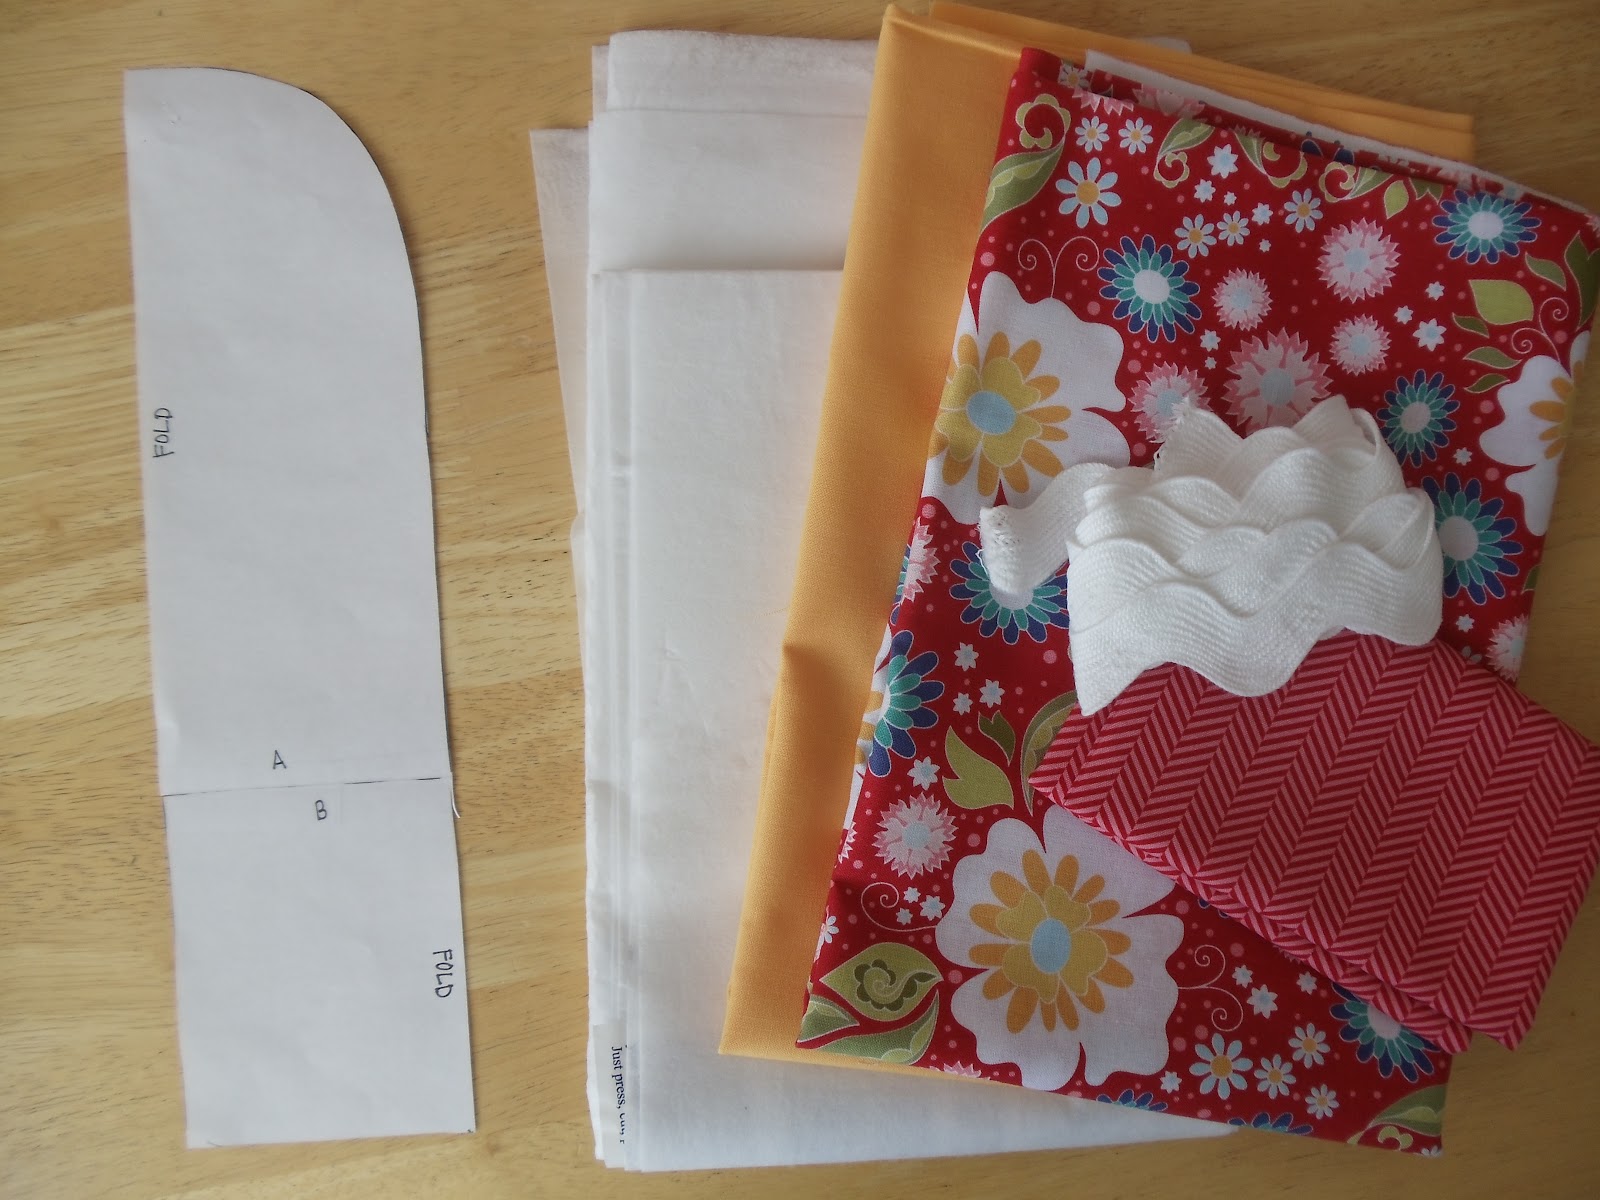
Today I'm bringing you a fun tutorial for a sewing machine cover. It's not only cute but functional.  I especially love the big pockets on the side for storing sewing supplies. First up you're going to need to gather your supplies. You can find this cute fabric, called Apple Of My Eye, right now at Pine Needles. For this project you will need...

3/4 yard outside fabric (flowers)
3/4 yard lining fabric (yellow)
3/4 fusible interfacing (I used Pellon Decor Bond)
2 yards jumbo rick rack
fat quarter (pockets)
template (found at the end of the tutorial)

Print off the template found at the end of this tutorial and use that to cut out the sides of the cover. Fold your fabric in half and line up the edge that is marked FOLD with the fold of your fabric. You'll need to cut 2 from your outside and 2 from your lining fabric.

Using your fat quarter, cut 2 pocket pieces 15 1/2 inches x 7 inches.


For the main body of your cover cut a piece that is 30 inches x 20 inches. Apply interfacing according to the manufacturer's instructions to all of the outside fabric pieces (2 sides and main body piece).

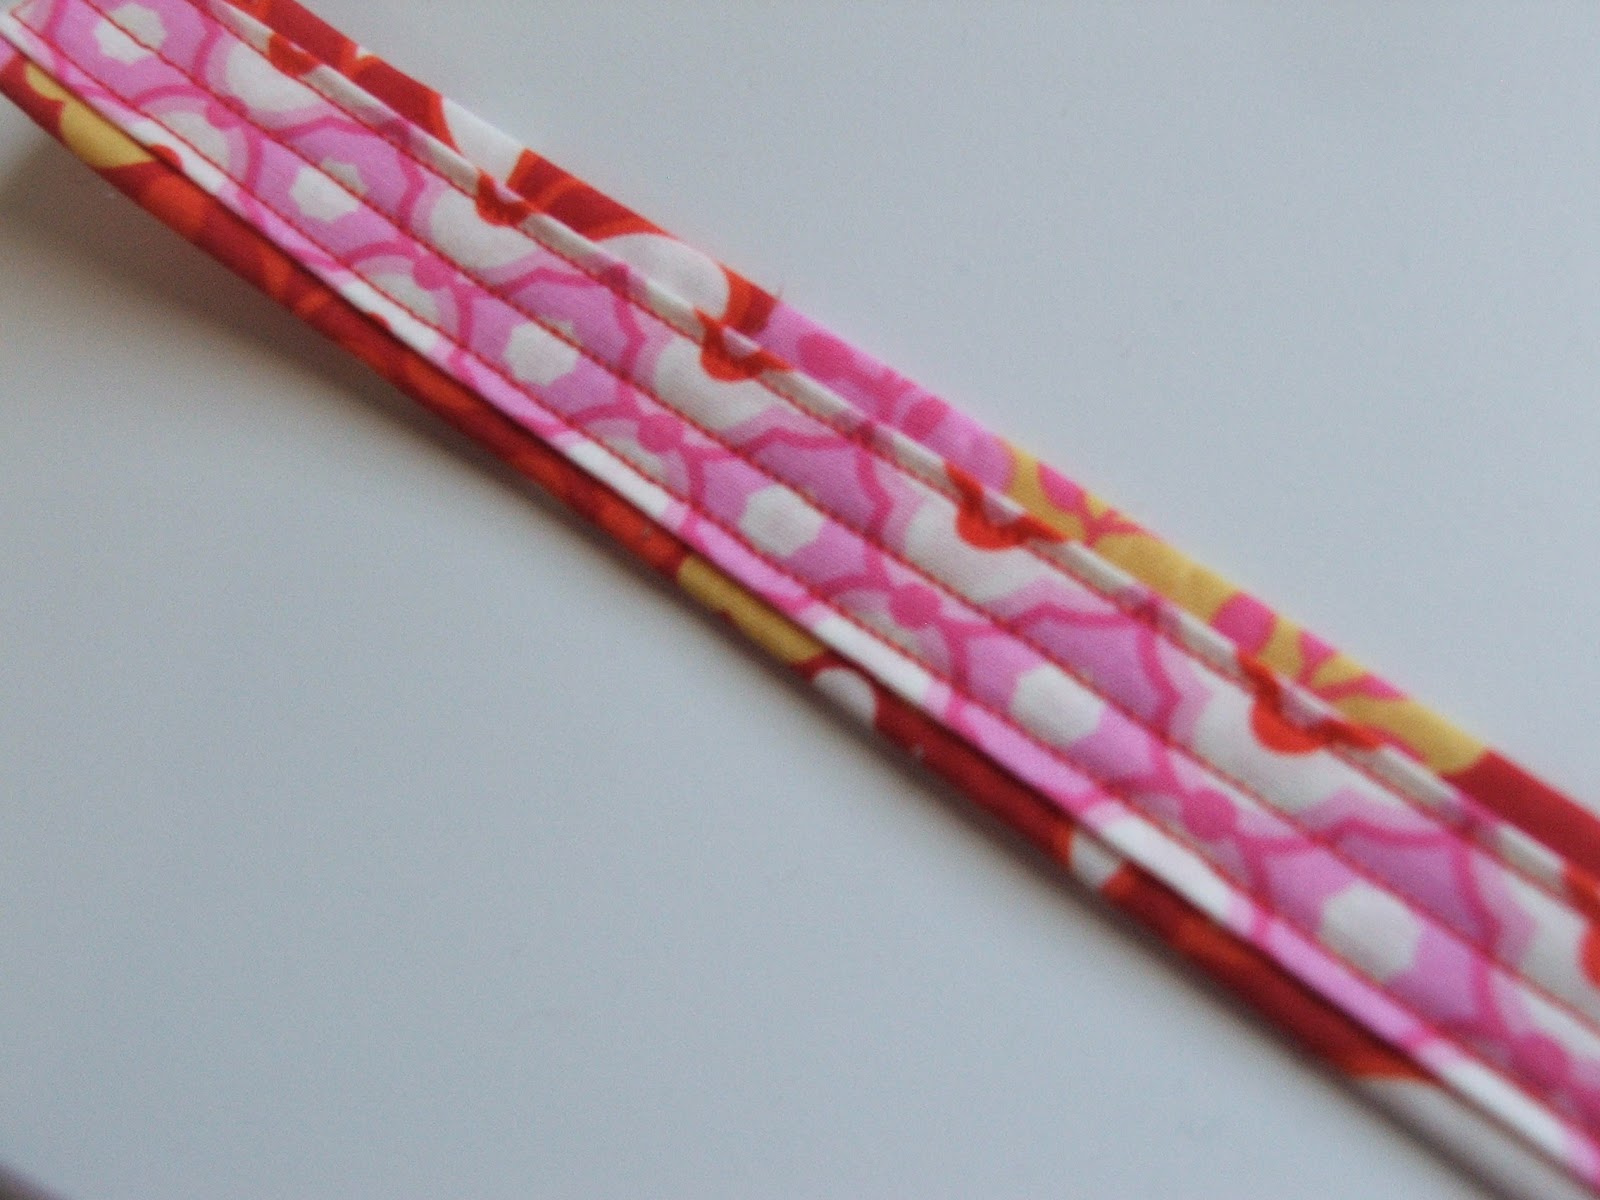
Fold your pocket pieces in half and top stitch 1/4 inch from the fold.

Place your pockets on top of your side pieces as shown below...


Pin your rick rack around the side pieces...


At this point I stitched my rick rack on with a scant 1/4 seam so that I could remove the pins in preparation for pinning the side pieces to the main outside piece.

You can see below how I pinned the side pieces to the main piece of the cover...

Sew your sides into place.


Once you have both sides sewn onto your main piece, you can turn your cover right side out...


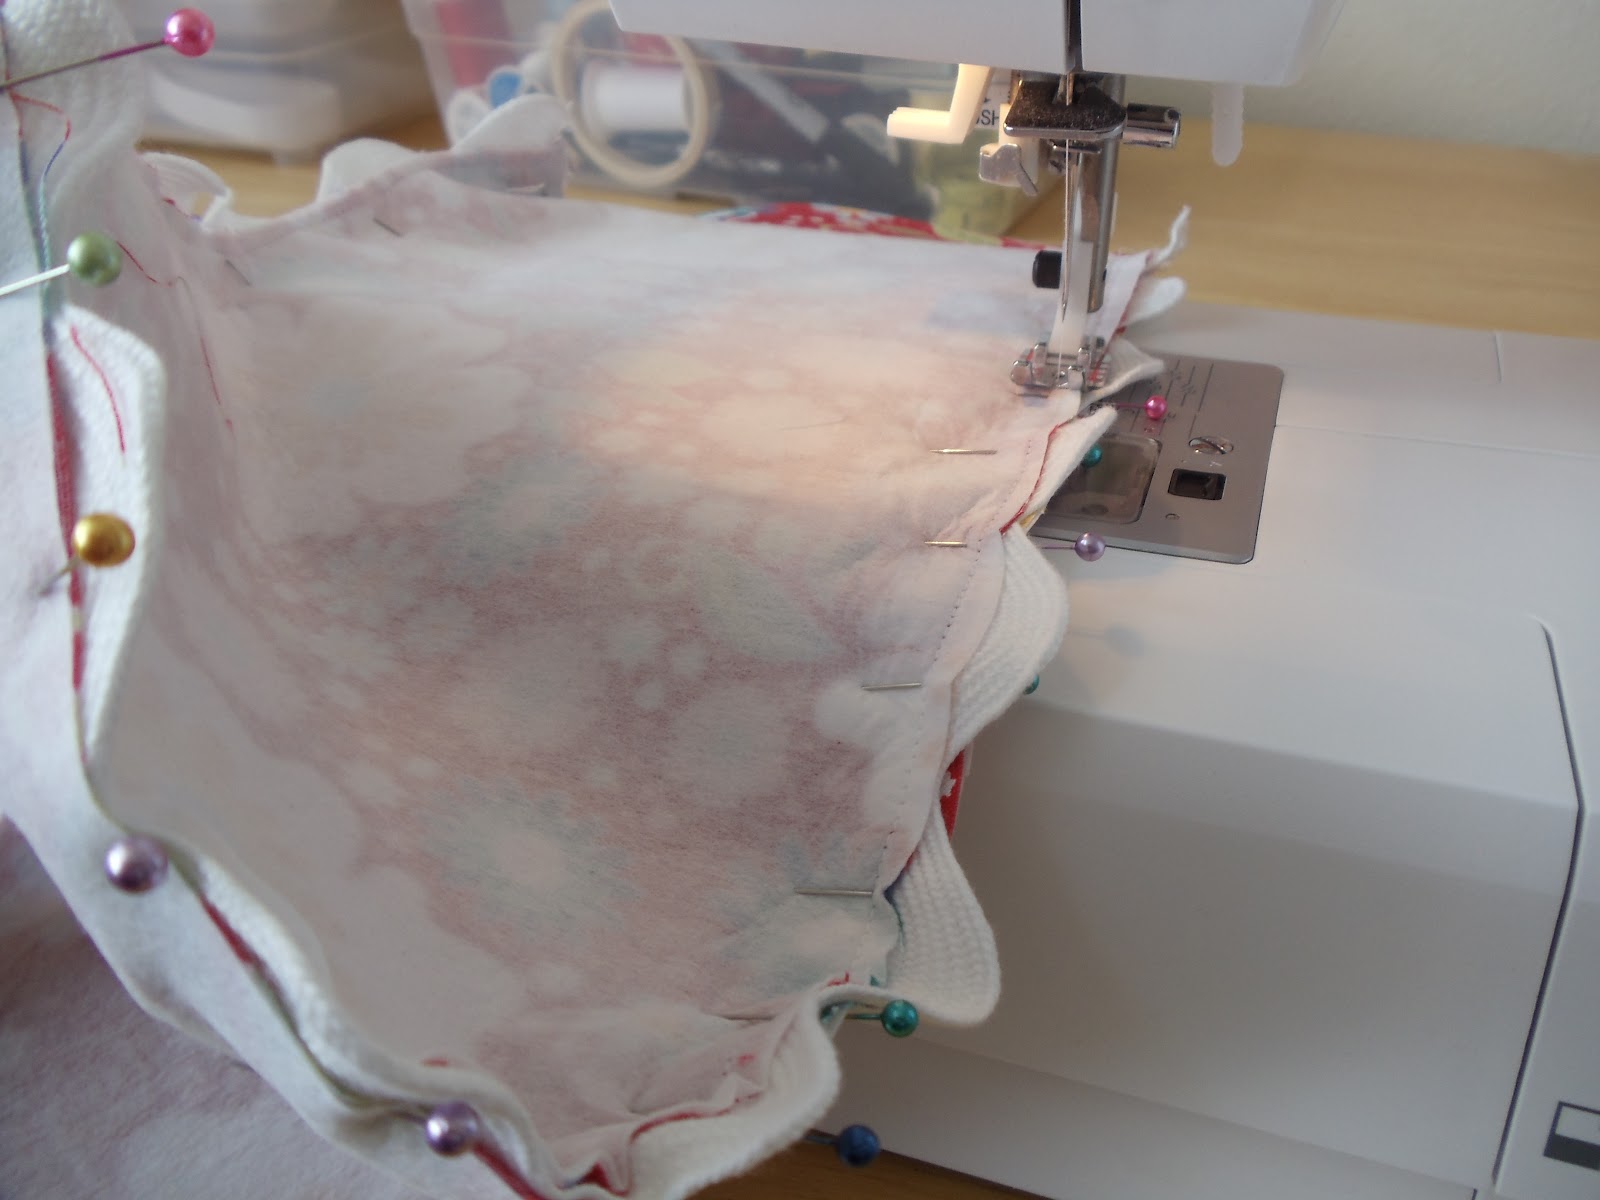
To make the lining you'll follow the same method as the outside. Pin and sew the two side pieces to the main lining piece. Leave a small hole in the side of the lining while sewing the side pieces on (about 3 inches) to turn your cover right side out. Leave your lining WRONG side out and slip your lining over your main piece, like you see below...

Sew the lining and outside pieces all the way around the bottom of your cover...

Pull your outside piece out through the small hole you left in the lining...


Once you have your outside piece pulled all the way through, your piece should look like this...

Sew up that small hole by hand and tuck the lining inside the outside of your cover.

Lastly, you'll want to do a bit of top stitching to ensure your lining stays in place. Top stitch all the way around the bottom and around the curves on the top of the cover.


Place on top of your sewing machine and you're all finished!

I hope this tutorial adds some freshness to your sewing space. And don't forget to come visit me at mycottoncreations.blogspot.com, I'd love to hear how your sewing machine cover turned out!

You can download a copy of the template for free HERE!


Friday, April 27, 2012

A Fun Twist on an Oldie!

Look at these FABULOUS laminates!!!
Yes these are laminates!  The main print is from the fabric line 
Apple of My Eye
designed by Amanda Herring of The Quilted Fish
for Riley Blake Designs

Sandy asked me to make a table topper for our front porch, and we thought using laminate would be so fun!  So today I made a table topper using the self-binding baby quilt method.  And the YouTube video linked below is a fantastic tool.  I hope you enjoy!


Tuesday, April 24, 2012

Holly update and a new quilt kit...

I had a request for a Holly update so I thought I fill you all in......check it out.....

Holly is back in the groove of things at Pine Needles

This is actually not the new dress code for the store, we all got to get our groove on for last weeks Friday Night Fever at Gardner Village.  What a blast!

After 9 long weeks she is without crutches and on the move with her walking cast and she is keeping her fingers crossed that 1 more week and the cast will be off!   We are all SO GLAD to have her back!!!

One more bit of news - we have a fabulous new table topper kit in the store.  Charming Corners is such a great quick charm pack project.
This kit is only $23.95 and includes all the fabrics for the quilt top.
  Finished size: approx 36" x 26"  
Back, binding and pattern are sold separately. 

Click here to purchase or call us at the store, available while supplies last.


Monday, April 23, 2012

MAKE IT MONDAY


While browsing through Pinterest I found this cute paper dress garland. I decided to try making one in fabric. It was so fun! The possibilities are endless. You could make one using a swatch of a favorite dress your daughter has outgrown, one from your grandma's favorite housecoat, or a piece of fabric you just couldn't live without. I may make a new dress for every month to coordinate with the seasons.
I also found this darling button necklace on Pinterest. I made plenty of cute buttons, but couldn't get them to hang right on the chain. Then I found this cute Goldilocks print in my scrap stash and thought it would be cute for my daughter. I used the 1-1/8" button cover kit and applied art gel to make it shine. Then I simply threaded it onto a length of fabric and used it as a headband. So sweet!


Thursday, April 19, 2012

THRIFTY THURSDAY!!!!!

Today we have some pre-cuts we need to BLOW OUT OF HERE!!!  This is a darling line by Riley Blake Designs called DECADENCE.  Each pre-cut contains 23 different pieces, one piece from each bolt in the line. 


5" STACKERS (aka. charm packs)
NOW ONLY $2.50 
              reg. $4.95

10" STACKERS (aka. layer cakes)
NOW ONLY $8.50
                   reg. $19.95

ROLIE POLIES (aka. jelly rolls)
NOW ONLY $8.50 
                 reg. $19.95

Come into the store or call to get yours now!!!  We have a bit of yardage left to complete a project you may have in mind, but hurry in the quantities will not last!!!!!!!!

Wednesday, April 18, 2012

What's New Wednesday & MORE

It's Wednesday, and that means new product!  But first, we need to tell you about a fabulous NEW EVENT happening this Friday at Gardner Village. 


This Friday, April 20th from 6pm to 10pm we welcome back the 1970s.
Come and relive your groovin' days OR
get your groove on for the first time
(its hard to believe some of our customers are not
old enough to have experienced the 70s)!!

Pine Needles will have some FAR-OUT DEALS!! Draw for one of SEVENTY different prizes, which include gift certificates, patterns, fabric, discounts and more!!  Can you dig it? 

NOW, HERE IS WHAT'S NEW.....
 
'Believe in Youself' by Jumping Through Hoops


'Life is Like Riding a Bicycle' by Jumping Through Hoops

'Creativity Is' by Jumping Through Hoops
'Rock-a-Bye' quilts by Zan Taylor Designs.
These are two new darling quilts hanging in the store!


Monday, April 16, 2012

MAKE IT MONDAY - Fab Fob

Welcome back to MAKE IT MONDAY!

Today we are making something cute and quick.  I recently made them for my gal pals as a little gift at Girls Night Out.  So let's get started....

You will need

  • 1/3 yard 1" webbing
  • 3" x 12" main fabric
  • 1 1/2" x 12" contrast fabric
  • Key fob hardware


Construction:

  • At your ironing board lay your webbing down the center of the main print on the wrong side, fold fabric over webbing and press.


  • Repeat with other edge wrapping fabric around webbing.


  • Using contrasting fabric fold each edge of fabric to meet in the center and press. 


  • Pin in place.


  • Top stitch down both sides of contrasting fabric and down the center.


  • Fold fob wrong sides together. Use pliers to clamp fob hardware on the end.
Your are finished!


Wednesday, April 11, 2012

What's New Wednesday....

Books, fabrics, patterns and more.....
Apple of My Eye from Riley Blake Designs


fabulous thread snips


Sew What You Love - book by Tanya Whelan
Metro Zoo Tape Measures
On a Whim by Thimble Blossoms

Sweet Pea by Cotton Way

Monday, April 9, 2012

MAKE IT MONDAY - Candy Bar Checkerboard Quilt

Guess what, we have great news HOLLY is back in the store!!!  We are all SO excited to have her back!!! And guess what else? For Today's MAKE IT MONDAY Holly is treating us to another great Candy Bar quilt!  


Candy Bar Checkerboard
Finished size approx 33" x 35"
SUPPLY LIST:
1 candy bar (2 1/2" x 5" rectangles)
Solid black  1/3 yard
Stop border fabric  1/3 yard
Outer border fabric 1/2 yard

CUTTING:
Candy Bars
  1. Cut each candy bar into (2) 2.5" x 2.5" squares; for a total of 78 squares
Solid black
  1. Cut (5) 2.5" x WOF strips
  2. Cross-cut each strip into 2.5" x 2.5" squares; for a total of 78 squares
Stop border fabric
  1. Cut (4) 1.5" x WOF strips of fabric
Outer border fabric
  1. Cut (4) 4" x WOF strips of fabric
SEWING:  use 1/4" seam allowance for all sewing

  1. Sew twelve squares together, alternating between a candy bar square and a black square, to make one row. Press toward the solid black squares.
  2. Repeat for a total of 13 rows.  
  3. Sew rows together flipping strips so that you alternating beginning the row with a black and candy bar print. 
  4. Measure through the horizontal center of quilt and cut two strips of the stop border print to this measurement.  Sew to the top and bottom of quilt. 
  5. Measure through the vertical center of the quilt and cut two strips of the stop border print to this measurement. Sew to both sides of the quilt. 
  6. Measure through the horizontal center of the quilt and cut two outer border strips to this measurement. Sew to top and bottom of quilt.
  7. Measure through the vertical center of the quilt and cut two strips of the outer border print to this measurement. Sew to the sides of the quilt. 
  8. Quilt and bind as desired.